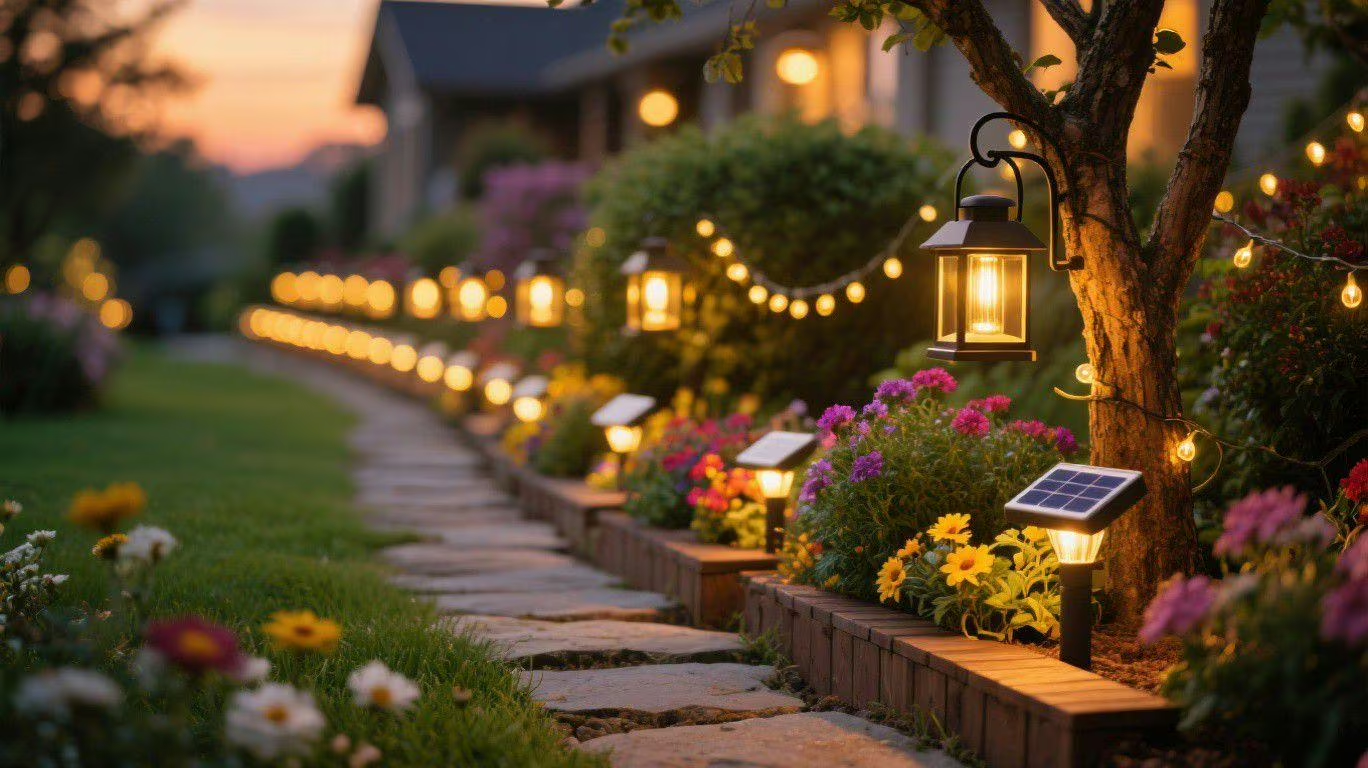
Leave them buried until the melt is the most common advice about solar lights and snow, and it is half right. The fixtures will usually survive under a drift, since snow is an insulator rather than a threat. The lighting, however, stops existing, and a path light that is not lighting is just a stake with a battery inside. If your walk goes dark every December and stays that way, the problem is almost never the light. It is the height.
How Deep Does the Snow Actually Get?
Raising lights starts with an honest number for your property, not the regional average. A typical season drops somewhere around a foot and a half of standing snow across much of the Upper Midwest and New England, while mountain and lake-effect belts measure in multiples of feet, and the South may see an inch that vanishes by noon. But what buries your fixtures is not the average. It is the deepest drift plus what the plow or shovel throws, and that pile along the walk can easily run twice the standing depth. Go out after your worst storm last winter, if you can remember it, and measure against the fence. That number is your snow line.
Most path lights ship at twelve to eighteen inches, and most in-ground disc lights sit at roughly zero. That is why December is dark: the fixtures were installed for the garden, not for the snowpack.
Snow load does more than bury a light. A drift leaning against a tall fixture pushes it sideways all winter, and by spring a once-straight row looks like it ducked. That is one more argument for risers done properly, with the stake reburied deeper, because a taller light with the same shallow footing is a lever waiting for a storm. Firm ground beats tall poles every time.
Match Each Fixture to Its Snow Line
Sort your fixtures by exposure. Lights along the shoveled walk live in the worst spot on the property, because they take the standing snow plus the throw from every shovelful. Lights in an open bed drift more than lights near the house foundation, where the building blocks accumulation. Lights on the south side get more melt-and-clear cycles. A light only needs to clear the snow line where it actually stands, which is good news, because a blanket rule of raising everything would be a lot of work for fixtures that never get buried.
While you are sorting, take note of which fixtures charge and which coast. December sun is weak, and a panel that was marginal in October will be hopeless by the solstice. Lights on the north side of the house that never really charged in fall can be retired for the season without guilt. Move the useful ones to the routes that matter and let the decorative fringe sleep.
Risers and Longer Stakes: The Cheap Fix
For stake-style path lights, the fix costs a few dollars and an afternoon. Pull the fixture, couple a length of half-inch PVC or electrical conduit between the stake and the head, and rebury the stake a few inches deeper so the added height does not turn the light into a lever. The conduit needs a hole drilled for the wire to pass through, and a dab of silicone at the joint keeps meltwater out of the tube. Paint the riser to match the fixture or the mulch line, and from the curb nobody can tell the difference.
If you would rather buy than build, taller replacement stakes exist for most solar pathway lights, and a set of fifteen to twenty extra inches is usually enough for snow country. One honest caution: raising a light changes its beam. A head that lit six feet of path at shin height lights a wider, dimmer patch at hip height, so expect to re-space fixtures or add one to a long run.
A note on panels while each fixture is apart: winter sun comes in at a low angle, so tilt every panel you can reach steeper than feels natural, closer to vertical than flat. A panel aimed at the low December sun collects noticeably more charge than one lying flat and aimed at where the sun sat in June. Two minutes with an adjustable bracket pays off through every gray week until March.
The Seasonal Move for In-Ground Discs
Flat in-ground disc lights cannot be raised, and that is fine, because their winter job should be relocation, not elevation. Every autumn, pull the discs from the beds and walk edges where they will vanish, and move them to places that stay clear: raised planter edges, the top step landing, a container by the door, even a bracket on a rail. They return to the beds in spring, and in between they keep working instead of hibernating under ice.
The swap takes about twenty minutes with a flat screwdriver and a five-gallon bucket for transport. Mark each disc’s summer home with a golf tee so spring reinstall is a memory exercise you can actually win.
Winter is also the right time to audit the discs you just pulled. Wipe each lens, check the gasket for cracks, and drop any that hold water into the recycling pile. A disc that survived the season with a tight seal and a clean panel is worth keeping for years. One that fogged internally last summer is already gone, it just does not know it yet.
One Saturday, Swap and Raise
The whole project fits into one dry Saturday in November, before the ground freezes hard. Pull and relocate the discs first, while the soil still cooperates. Raise the walk-side stakes second, deepest snow line first. Re-aim every raised head at the path surface, then walk the run at dusk to check for dark gaps, because raised fixtures almost always leave one. Space any new additions with gaps in mind, and follow the no-trip spacing rules for path lights so the raised stakes never become the hazard they were supposed to prevent.
If a whole Saturday feels out of reach, split the job across two evenings: discs and planning the first night, stakes and re-aiming the second. The order matters more than the schedule, because raised-and-spaced beats half-done-and-abandoned every time. Snow has a way of arriving the week you decided to finish next weekend.
Do it once and you stop thinking about it. The first storm of the year becomes a view from the window instead of a rescue mission, and the path stays lit from the first flakes in November until the last dirty banks finally quit in March.