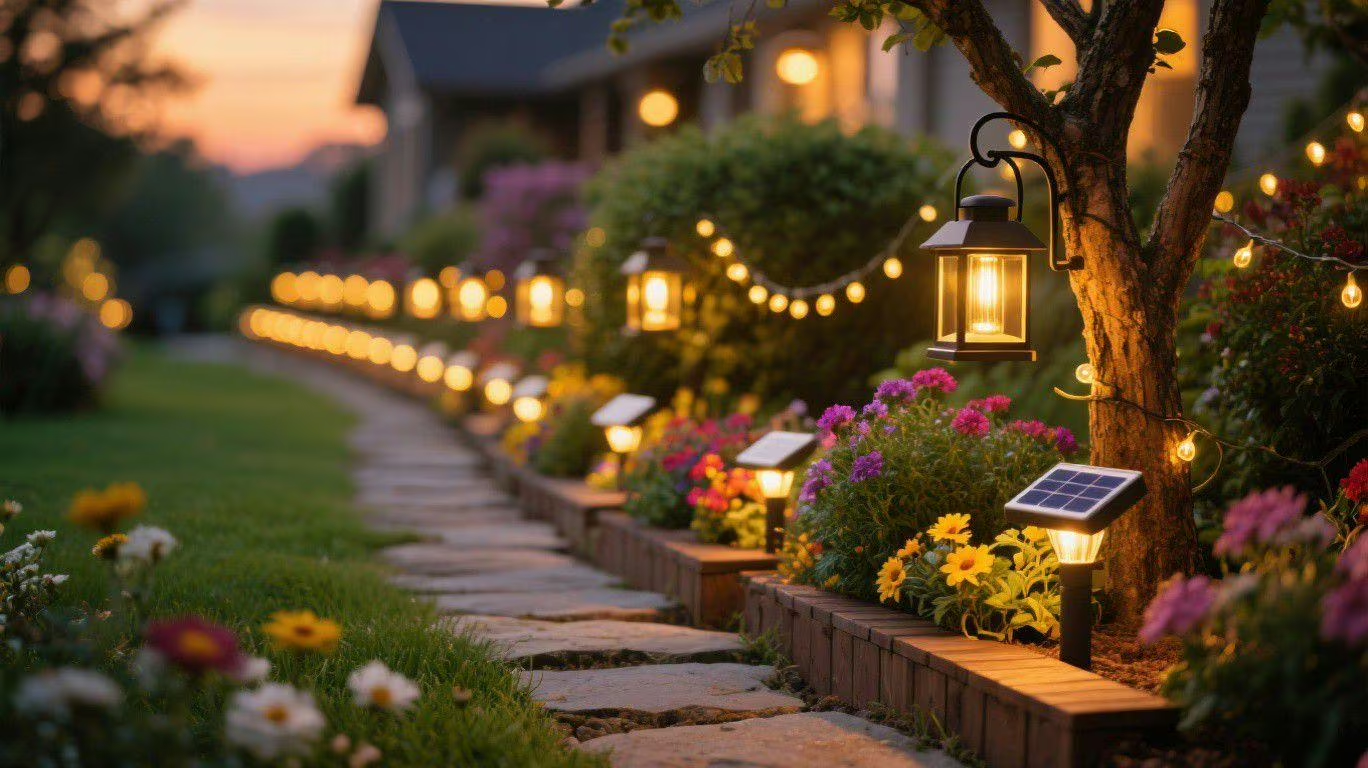
I will confess up front: I have started more Thanksgiving weekend outdoor projects than I have finished, and the unfinished ones were always the ones I had not planned by Wednesday. The finished ones, the path lights along the side yard, the stair lights two seasons back, all shared the same trait. I knew exactly what was going in the ground before the turkey was out of the oven.
This year Thanksgiving lands on Thursday, November 26, which makes the real work window Friday through Sunday, November 27 to 29. For most of the country that is the last comfortable weekend before soil starts locking up with frost. Days are short and the sun sets around 4:45, but the ground is still workable and the afternoons can be genuinely pleasant. It is the perfect lighting weekend if you treat it as a two-day project instead of a vague ambition.
Why This Weekend Is the Line
Two clocks are running. The first is ground temperature. Once soil freezes, driving a stake means a pilot hole, a hammer drill, or a lot of swearing, and the thin aluminum stakes on budget lights start bending instead of entering. Frozen ground does not make installation impossible. It makes it miserable, and it breaks hardware.
The second clock is daylight. After the time change on November 1, usable outdoor light runs roughly 9 to 4:45. That is still plenty for a path project, but it removes the option of starting after lunch on a whim. A two-day plan with morning starts is how the work fits the weekend instead of fighting it.
Saturday: Layout and Digging
Day one is decisions and dirt, with no hardware finalized in the ground yet. Walk the path at dusk on Friday night if you can, with whatever lights are currently running, and mark where the dark spots are. Those marks, not a tape measure, tell you where fixtures belong. Then the dirty work happens in four passes.
- Mark fixture positions with spray paint or golf tees, spacing path lights about 6 to 8 feet apart. Closer spacing reads formal, farther reads natural.
- Check each position for irrigation lines, drip tubing, and roots before the spade goes in. A sliced drip line is a bad way to end November.
- Dig pilot holes a few inches deeper than the stake needs and keep the soil in a bucket. You want loose backfill on Sunday, not frozen clods.
- Dry-fit every fixture in its hole and walk the full run once more before you commit to anything.
Soil condition deserves one honest paragraph. In sandy ground, a pilot hole is a formality and the stakes set firm on the first try. In clay, especially wet late-November clay, holes squeeze shut and stakes wobble until the ground refreezes around them; widen the hole slightly and backfill with the looser mix you saved in the bucket. Either way, tamp each fixture in with your boot heel rather than a mallet, because a mallet is how stakes die.
The classic spacing mistake is crowding. Six lights at eight feet look intentional. Ten lights at four feet look like an airport runway, and they cost more. Buy for the spacing you want, not the count that seems impressive on the product page.
Sunday: Mount, Test, and Adjust
Day two is placement and power checks. Wait for full daylight, set each fixture firm in its backfill, and then make the winter compromise every solar owner makes once: twist the fixture so the panel faces the best available sun rather than the prettiest angle toward the walk. In late November the sun tracks low across the southern sky, and charge matters more than symmetry. Tilt panels somewhere around 45 to 60 degrees, steeper than the default setting, to catch that low arc.
Then the patience test. Let the first full day of charging happen before you judge anything. Monday evening is your first real look, and Monday is when you make the small corrections: swap two positions, angle a head, move the one that sat all day in the maple’s shadow. Judge a solar light on its second night, never its first.
For the run itself, the bestseller six-packs of outdoor solar pathway lights handle a typical front walk in one box, and if your weekend scope includes steps, solar stair lights are worth adding on the same trip. The tools overlap, the soil conditions are identical, and the steps are the part of the walk guests actually trip on.
If the Ground Beats You to It
Real life intrudes on plans. If Saturday arrives with a hard freeze forecast, or the spade bounces off the soil, shift from digging work to mounting work: wall lights on the garage, stair lights screwed to risers, string lights along the fence. All of it is frost-proof because nothing goes in the ground, and all of it still reads as a finished display in December. Save the path run for a February thaw or the first warm Saturday of spring.
One last habit worth keeping: photograph the layout Friday night before you dig, and again Sunday after everything is placed. In March, when you are adding lights and cannot quite remember where the irrigation line runs, those two photos settle every argument. Plan by Wednesday, dig Saturday, mount Sunday, and the path glows before the first real freeze locks the yard shut.